- Download an appropriate version of wget.exe from here:
OLDER WINDOWS SYSTEMS: (v1.18)
32bit
64bit
NEWER WINDOWS SYSTEMS: (v1.21.4)
64bit Intel/AMD cpus
64bit ARM cpus
There are many versions of wget.exe floating around and they are not the same - these have all required libraries bundled, so each version just one executable.(Note that until 23 Feb 2022 we provided v1.11.4 here. This does not support TLSv1.2, which is now a requirement of our servers, and so we now propose at least wget.exe v1.18 in the links above. If you're seeing a TLS error when running an older version, upgrade your wget.exe)
For February 2026 we've added v1.21.4 in both Intel/AMD 64bit and also a new ARM 64bit option. You may need to experiment a little to find the best version for your setup. We used this resource, which is unaffiliated and we take no responsibility for results: Windows binaries of GNU_wget.
- Put this somewhere in the PATH - we suggest C:\Windows
- At this point you should be able to test this by opening Command Prompt ('Win+R', type 'cmd', hit 'Enter') and typing in the following command. Don't forget to replace TOKEN with your real 20 character token from your entryDNS control panel.
- Double check that your IP has been updated in the control panel.
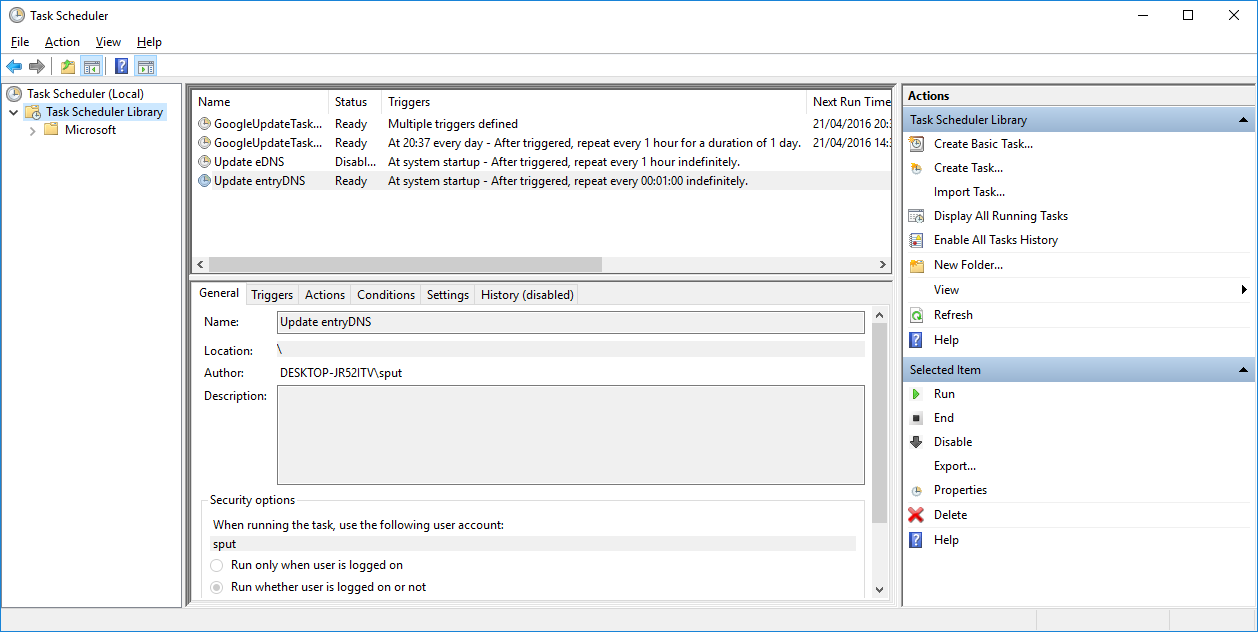
- Now it's time to schedule a task so it runs automatically in the background. Open Task Scheduler. In Windows 7 it's in Accessories -> System Tools. In Windows 10 you can open it from Search.
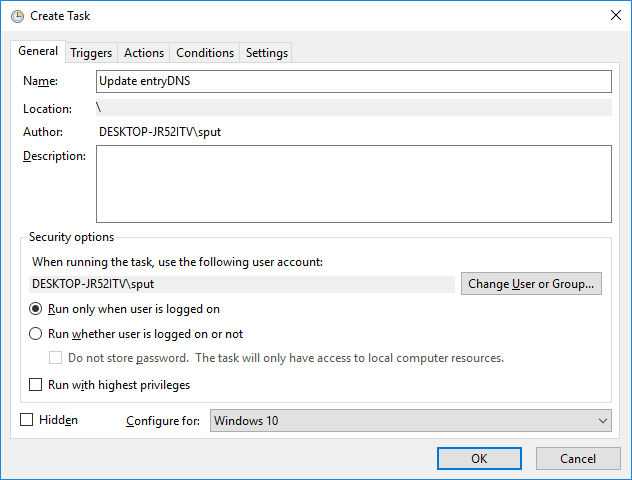
- Click 'Create Task'
- Give it a name and choose your version of Windows at the bottom
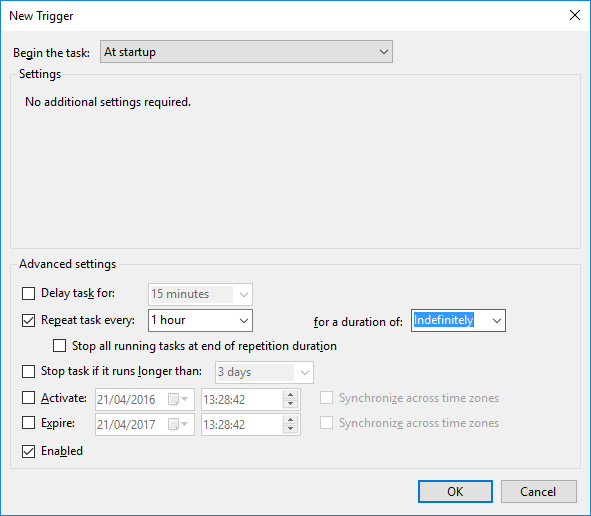
- Go to Triggers tab and add a 'New Trigger'. We recommend to 'Begin task at Startup' and 'Repeat every hour'. You can tweak these settings to your liking of course.
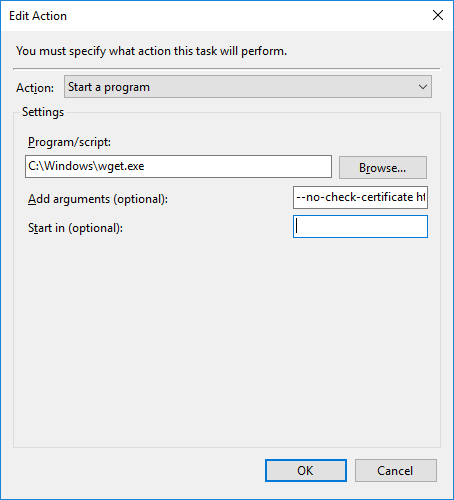
- Go to Actions tab and add a 'New Action'. Choose action 'Start a program', and browse to your wget.exe. Copy the following line into arguments. Don't forget to replace TOKEN with your real 20 character token from entryDNS control panel.
- Click OK and OK again to save the scheduled task.
- You can test the task by restarting your computer or running it manually. Your records will now update automatically when your computer is on.
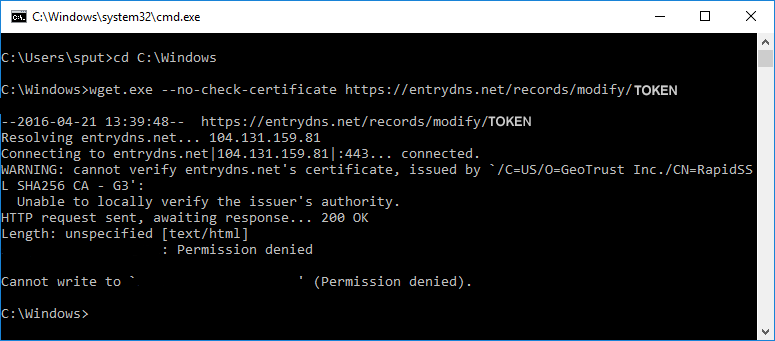
cd C:\Windows
            wget.exe ‐‐no-check-certificate https://entrydns.net/records/modify/TOKEN
The ‐‐no-check-certificate bit deals with any SSL error that comes back otherwise. Amidst other messages, you should see 200 OK. This means that your IP has been updated. You can ignore the 'Permission denied' error, it's there because wget doesn't know what to check the certificate against.
‐‐no-check-certificate https://entrydns.net/records/modify/TOKEN